
Check out the rest of Big Little's beautiful line of patterns HERE.
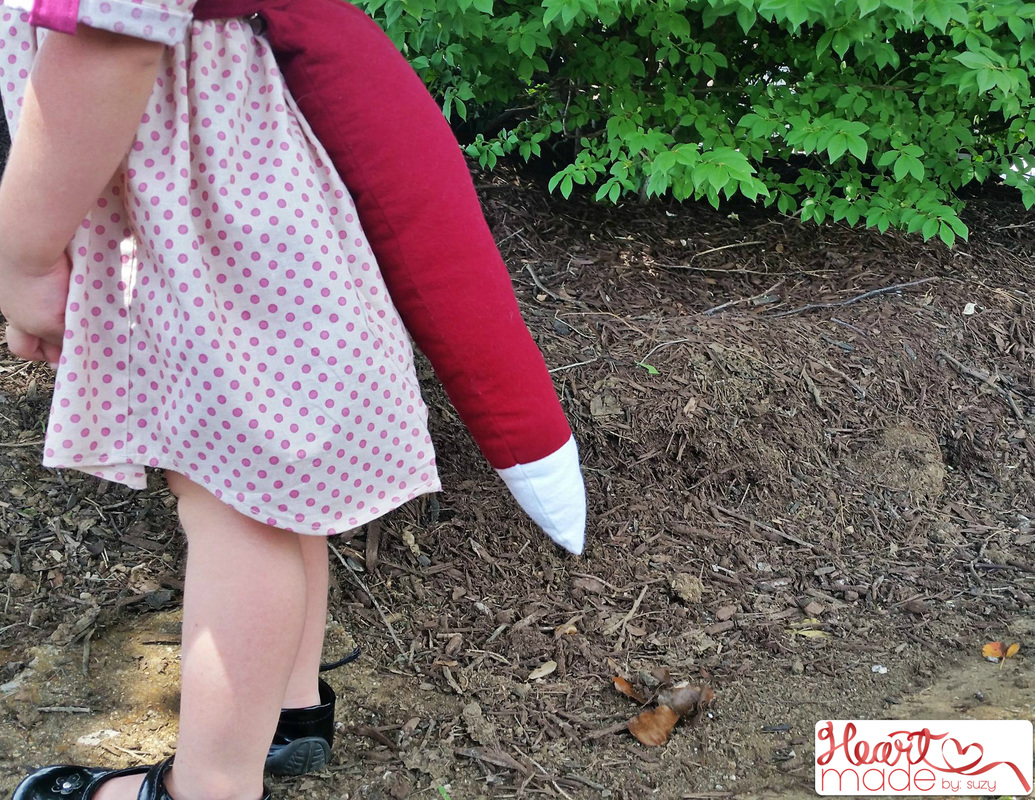
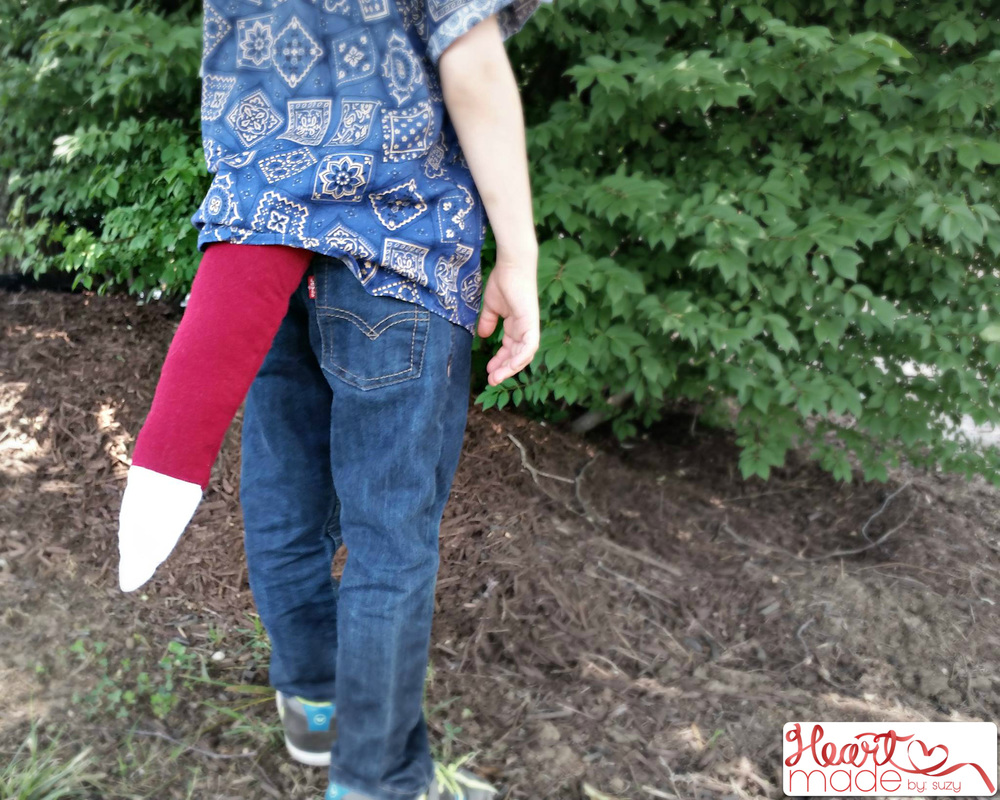
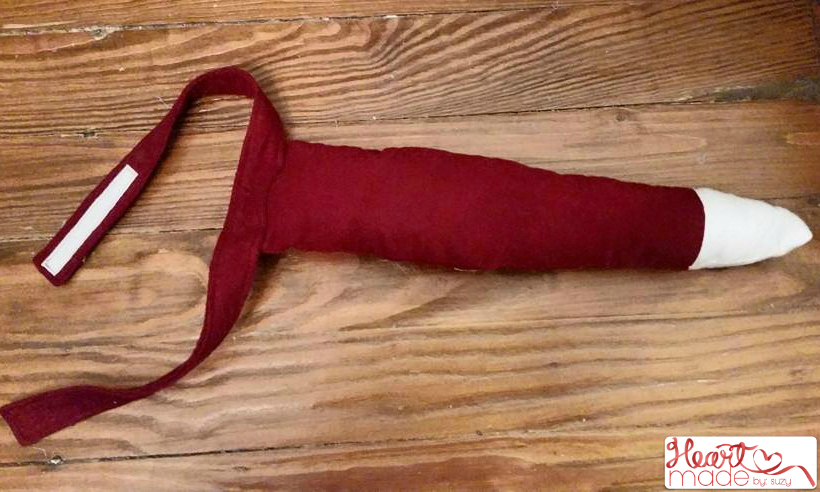
Another adorable addition to the Wild Things Hooded Scarf pattern was that the designer added the option to have a separate tail for your little "Wild Thing". The tail options added are for Cat/Mouse, Giraffe/Zebra/Donkey/Lion and Fox. I decided to make an adjustable waistband for my tail to be attached to (not included in pattern).
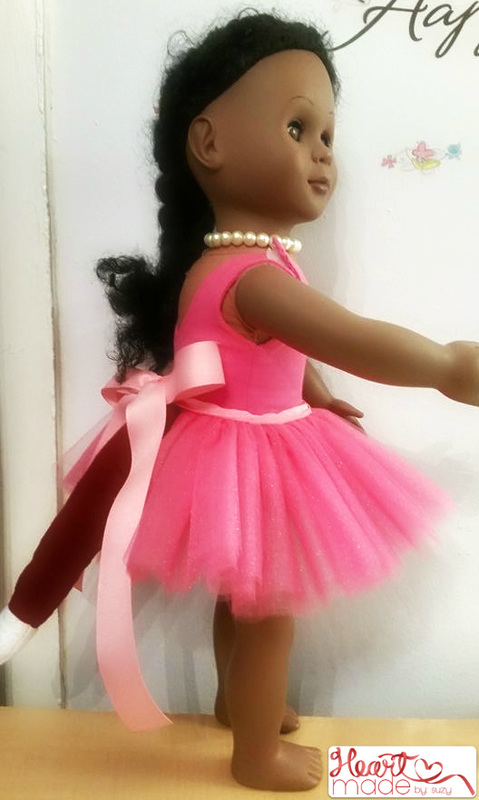
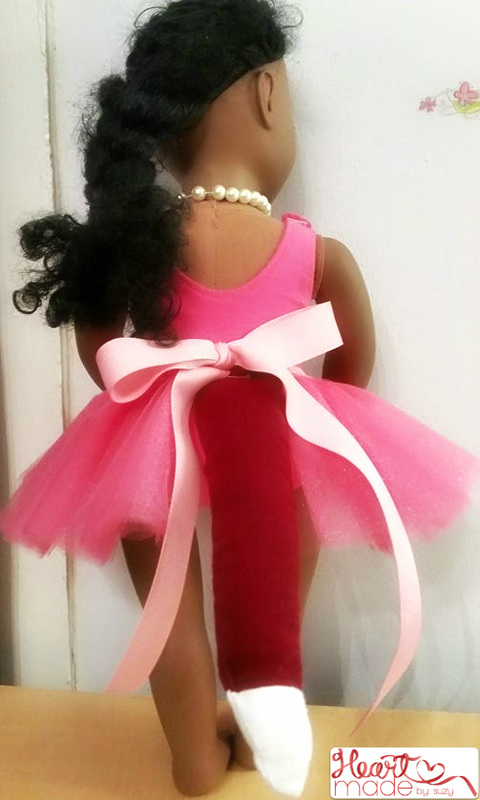
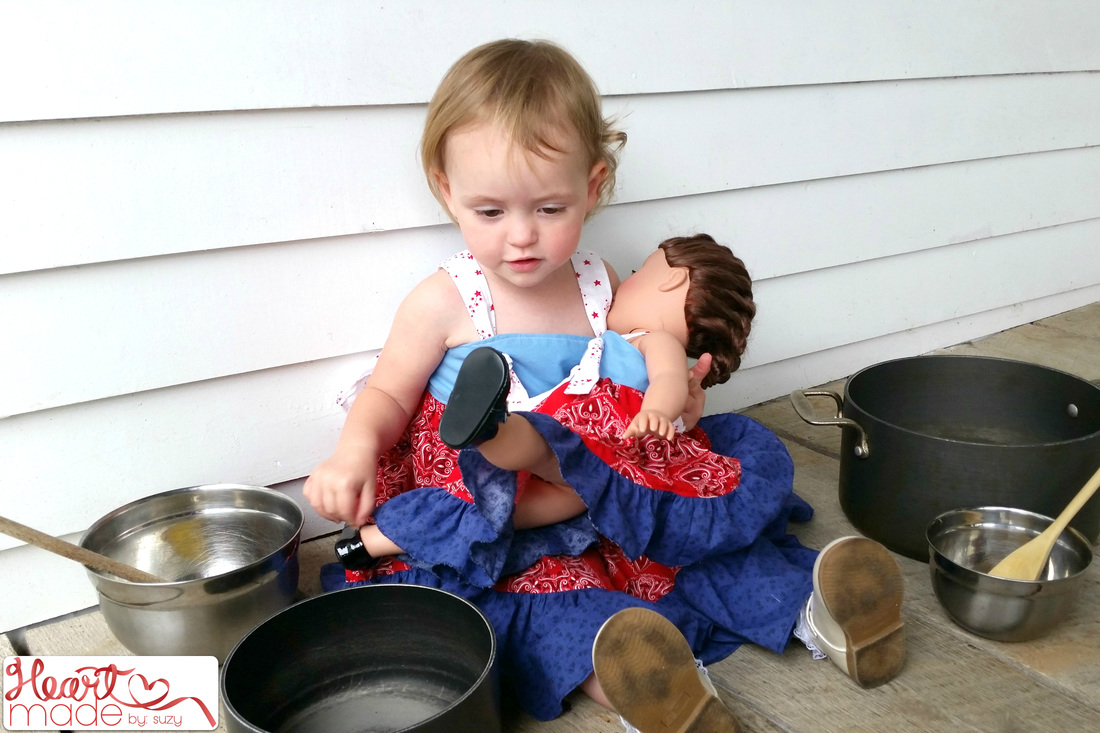
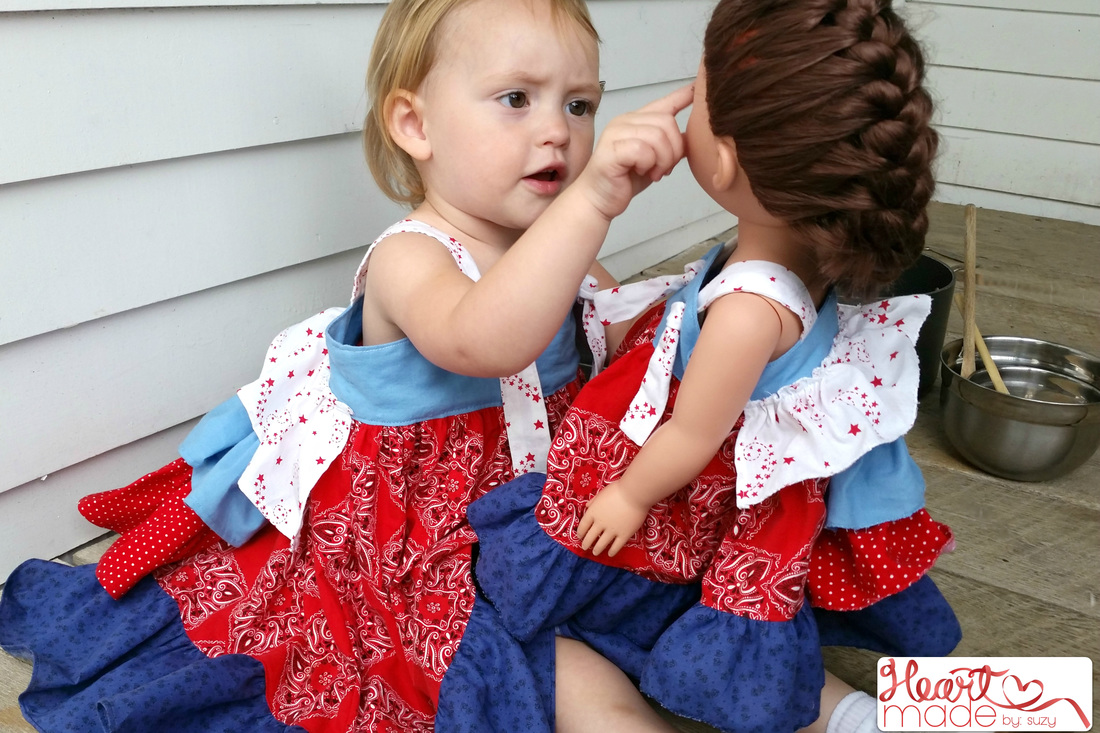
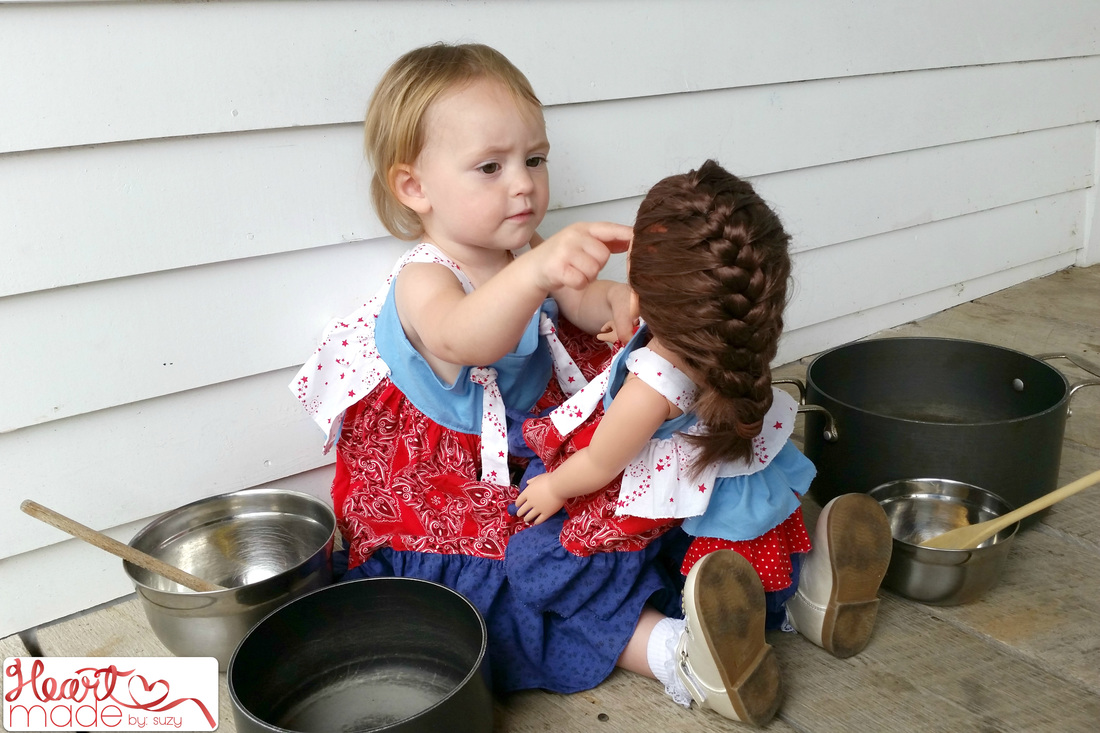
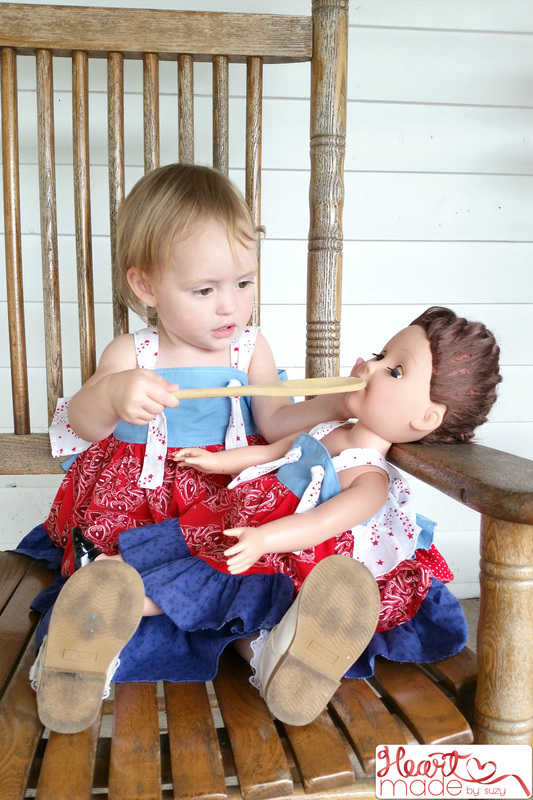
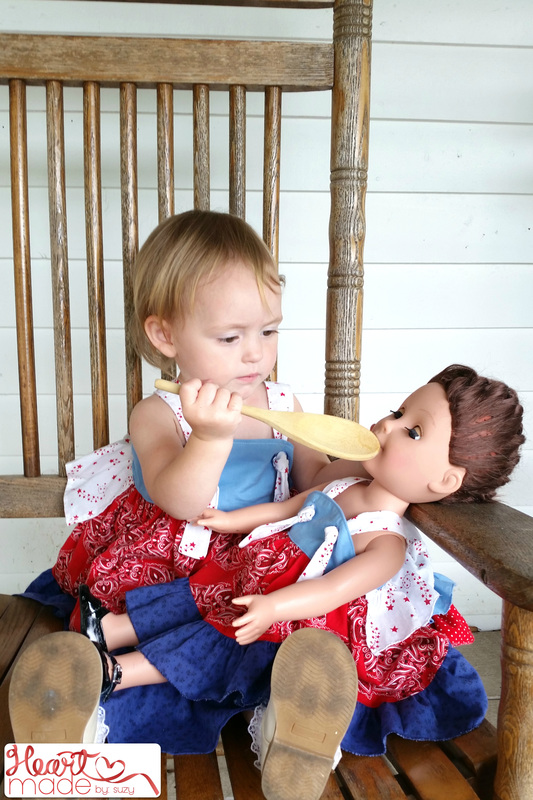
I'm sure that any number of other tails could be created with this pattern and a bit of imagination. I even used the same pattern and scaled it down in order to make a tail for an 18" doll! (The doll version is not included in the pattern.)
I'm sure that any number of other tails could be created with this pattern and a bit of imagination. I even used the same pattern and scaled it down in order to make a tail for an 18" doll! (The doll version is not included in the pattern.)
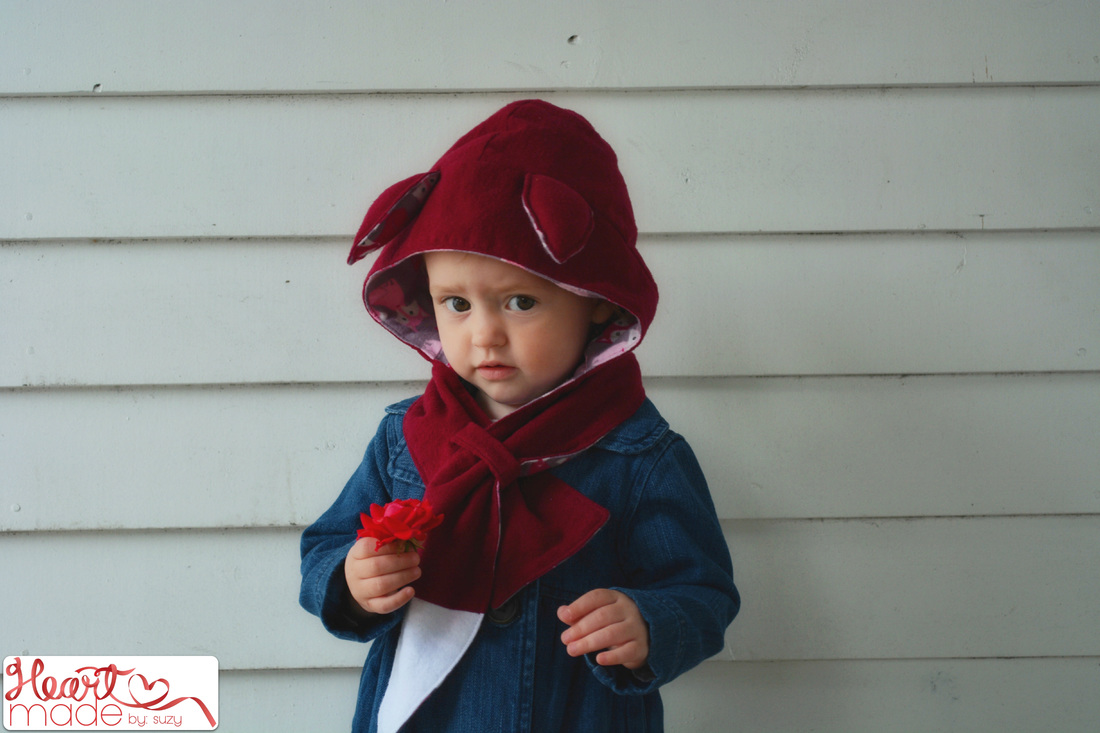
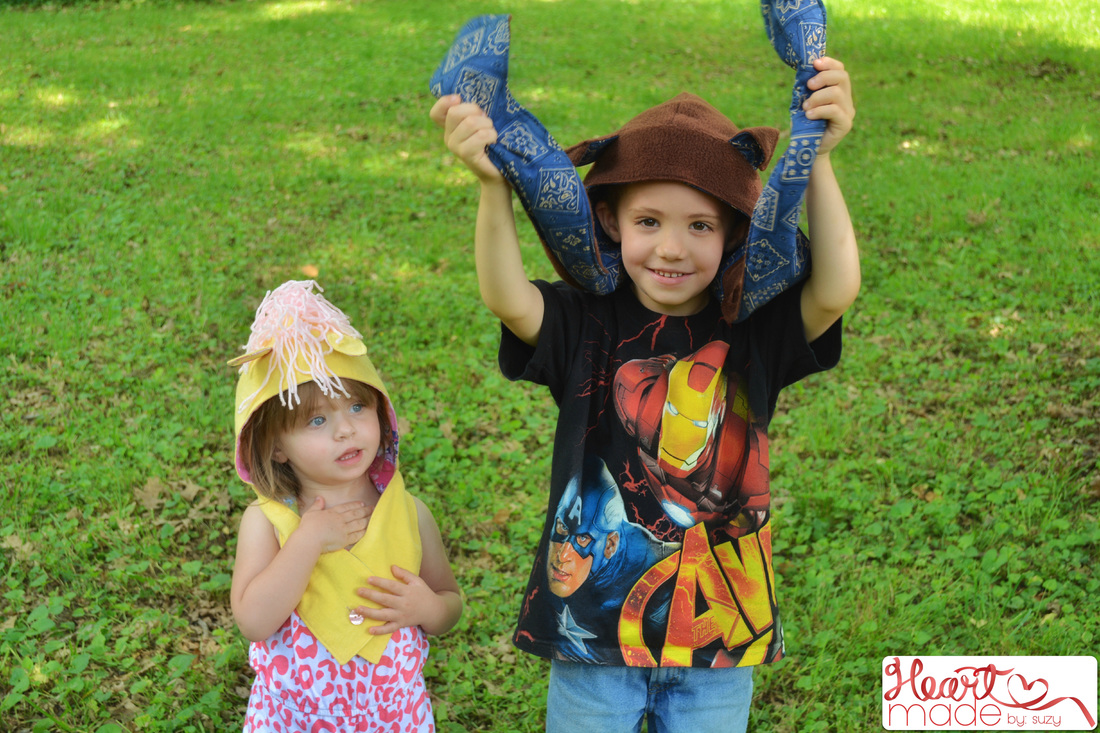
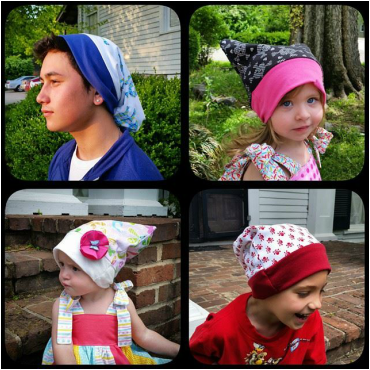
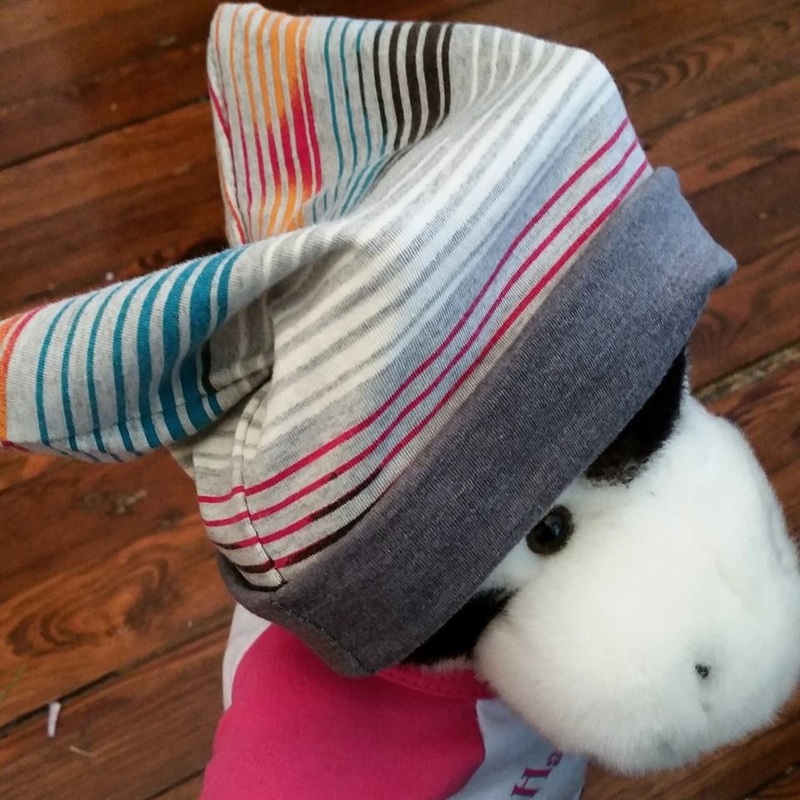
I've been impatiently waiting for the release of the adorable Wild Things Hooded Scarf pattern by Big Little. From the beginning, I knew that this was going to be a must-have for every child I know and several of the adults (unfortunately, I doubt my hubby would willingly don one of these adorable hats). The pattern sizes span all sizes, from Infant to Adult.
The first round of testing had a couple of hiccups, but nothing that a couple of pattern adjustments wouldn't fix. Round two of testing was an utter success! Not only were the kinks hammered out, but the designer added more adorable options!
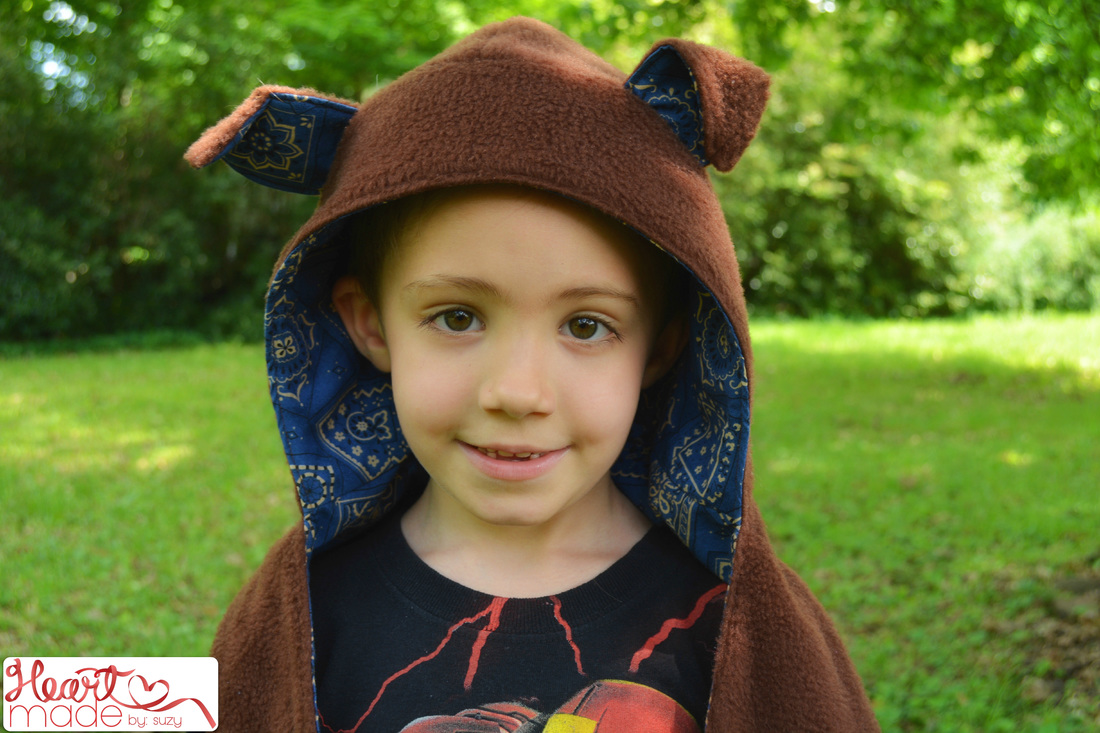
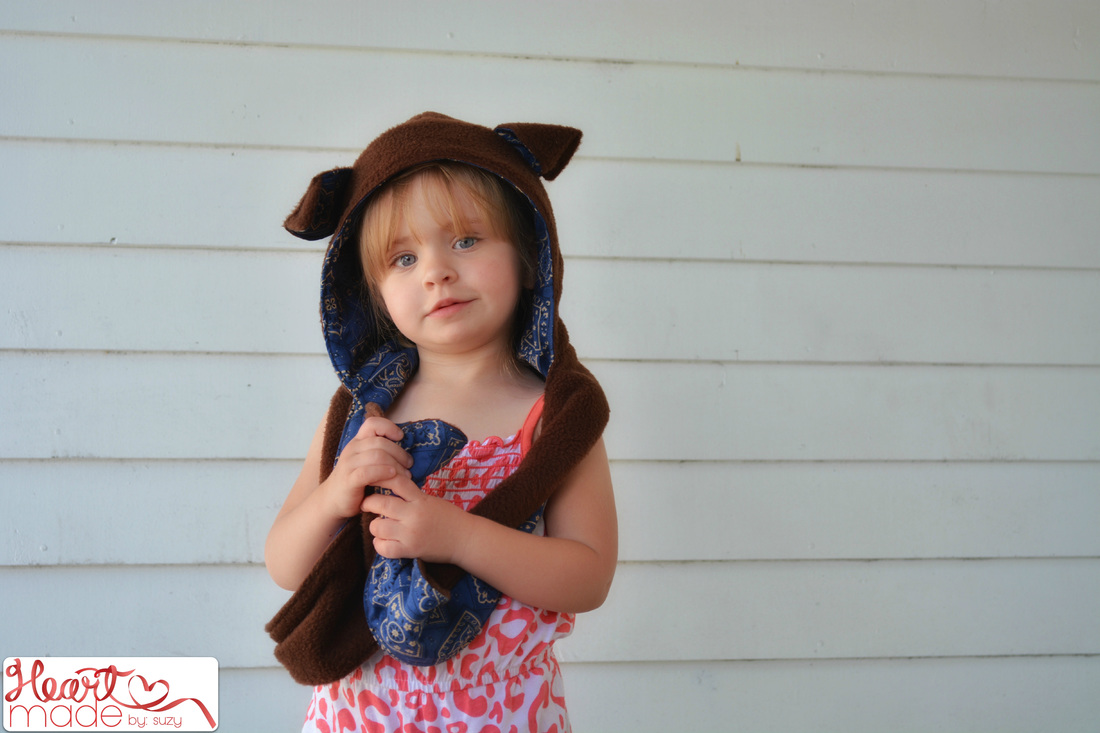
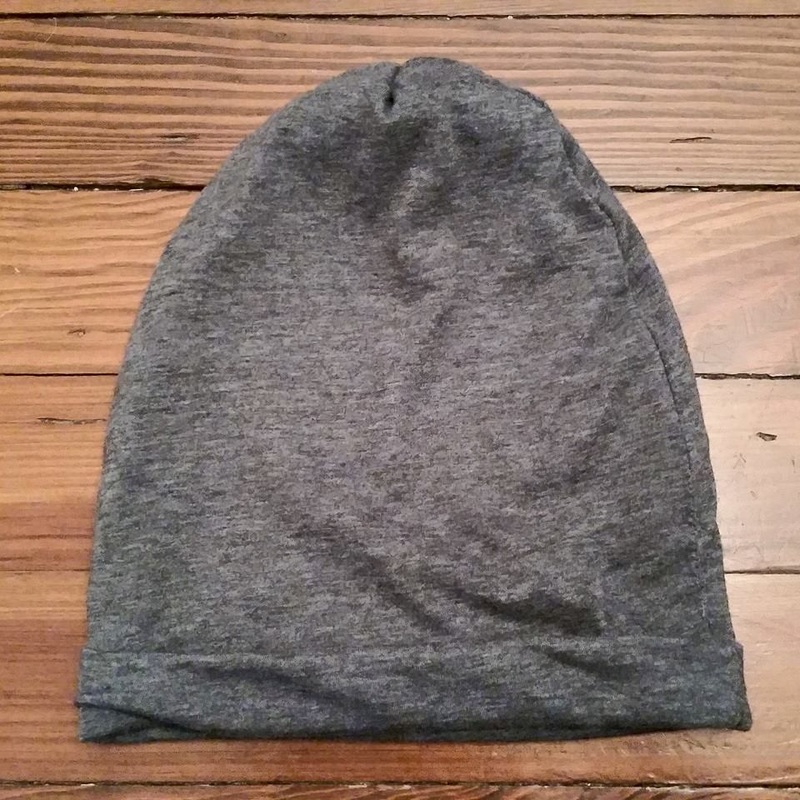
Here's the difference between Round One and Round Two for the Fox Hood:
Round One... shallow hood with more wide opening.
Round Two... deeper hood with the option of a more fit opening or more wide, plus an added "tail" crossover design.
The first round of testing had a couple of hiccups, but nothing that a couple of pattern adjustments wouldn't fix. Round two of testing was an utter success! Not only were the kinks hammered out, but the designer added more adorable options!
Here's the difference between Round One and Round Two for the Fox Hood:
Round One... shallow hood with more wide opening.
Round Two... deeper hood with the option of a more fit opening or more wide, plus an added "tail" crossover design.

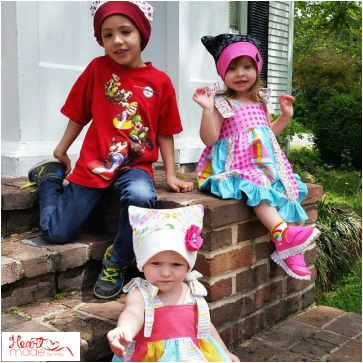
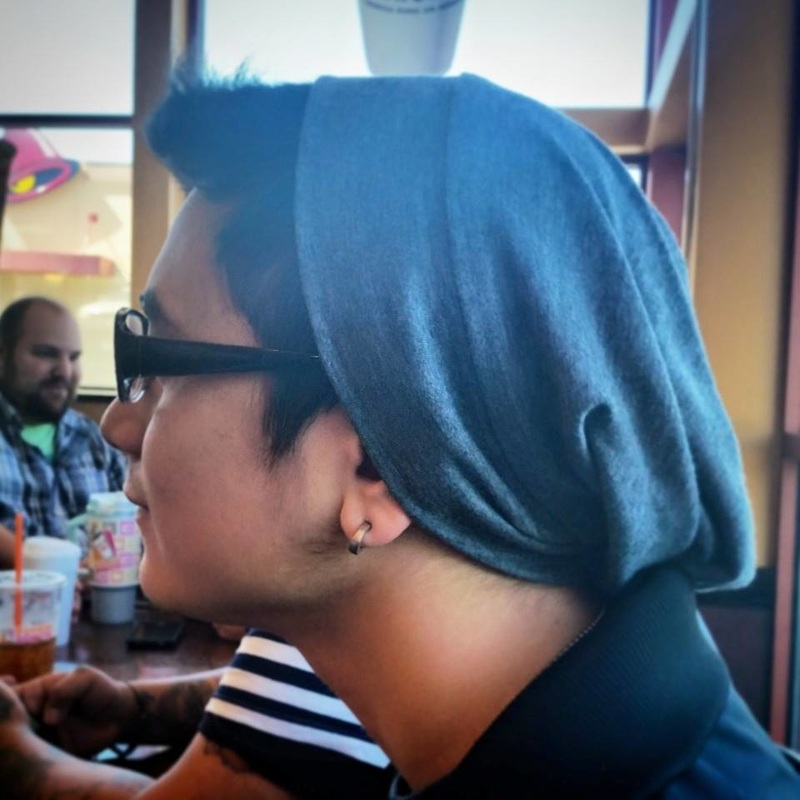
Of course, anything would look great on my adorable models, but I think these tweaks and additions are amazing!
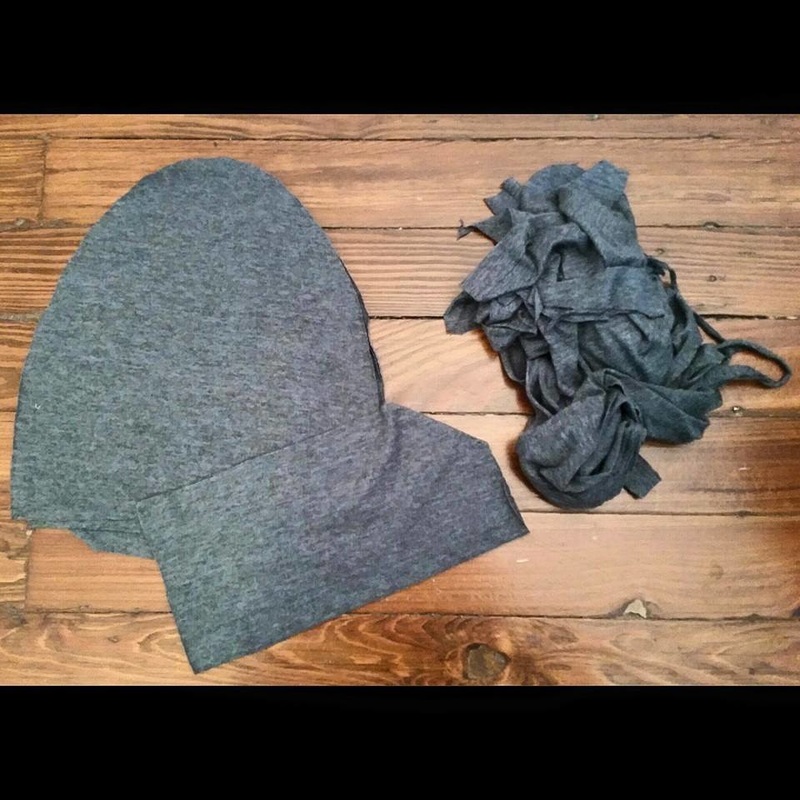
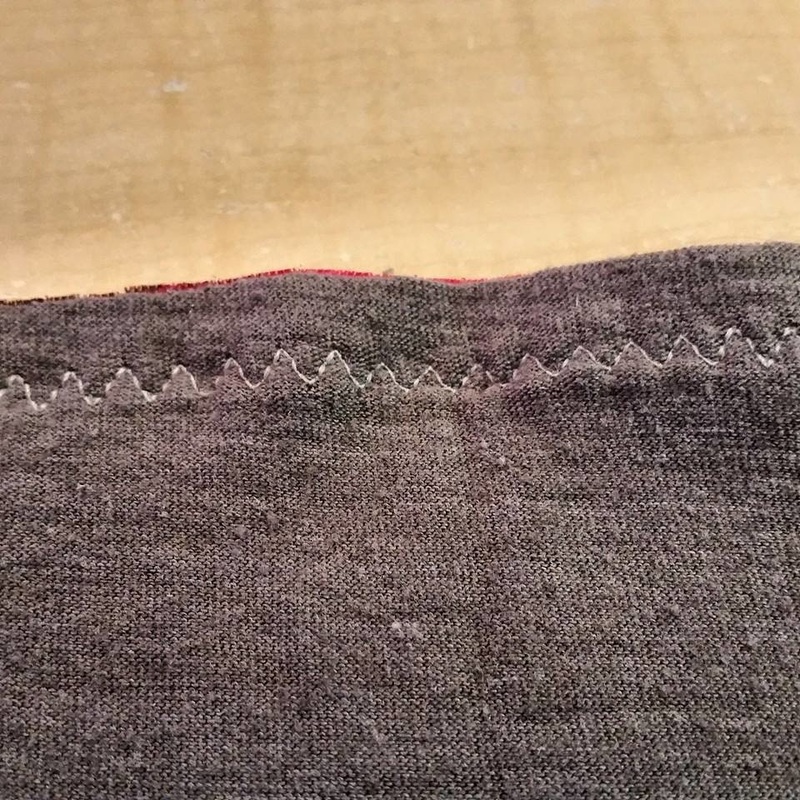
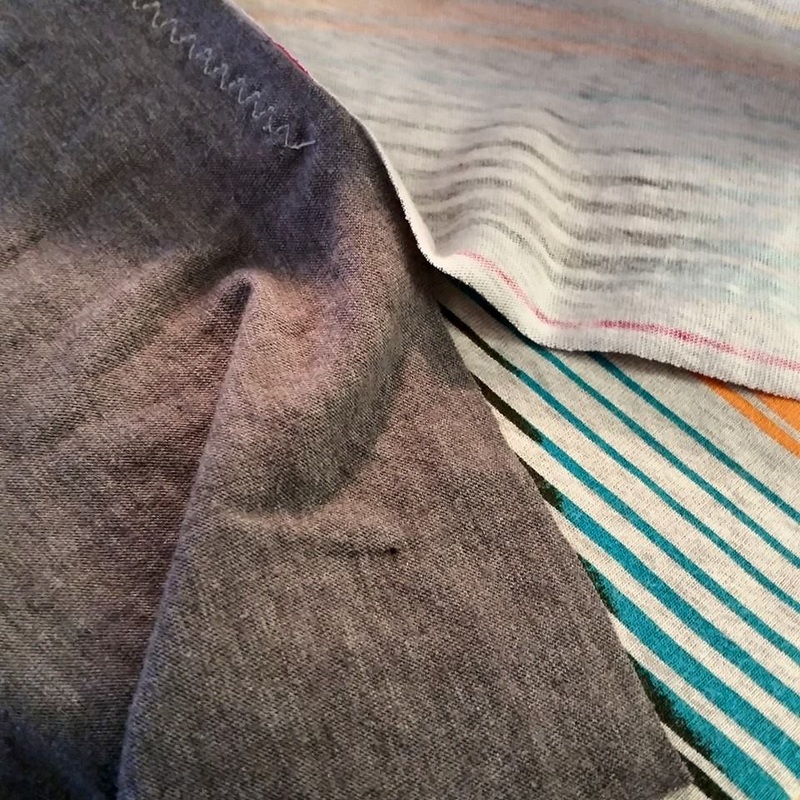
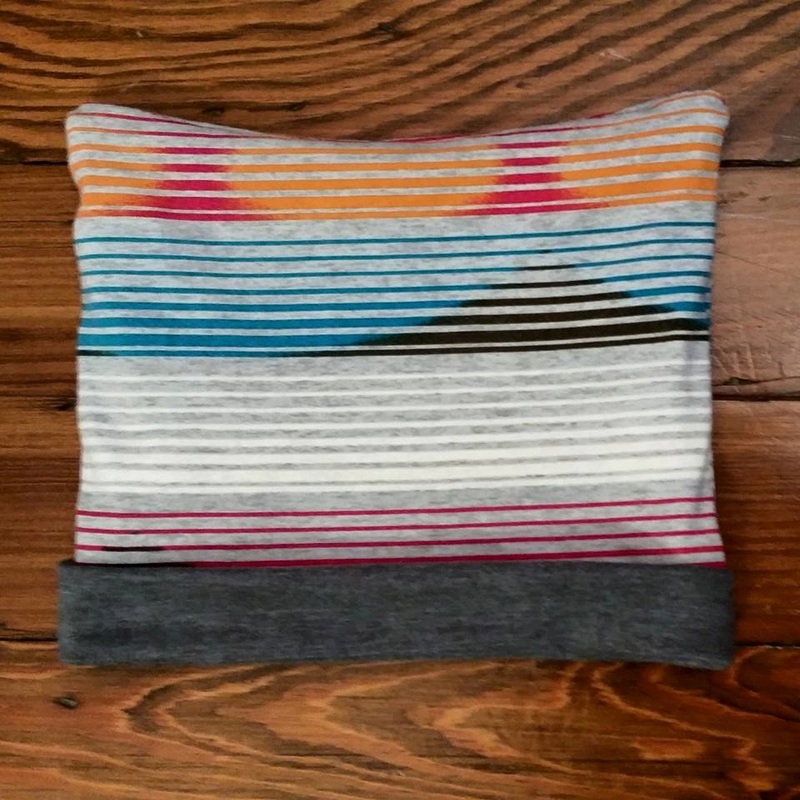
This pattern was my first experience using the "Layer" option in Adobe. This means that you have the ability to print only one size of the pattern as opposed to all sizes and trying to figure out which line to follow. How genius!!! This pattern had easy-to-follow directions with coordinating images for the step-by-step instructions.
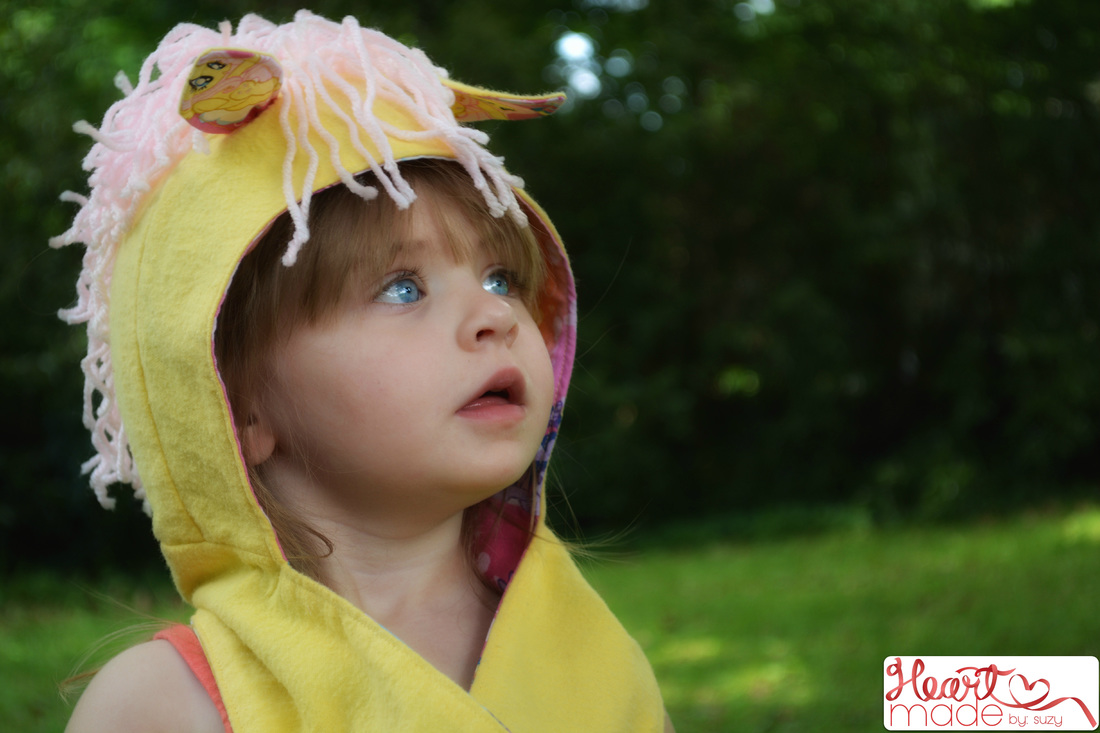
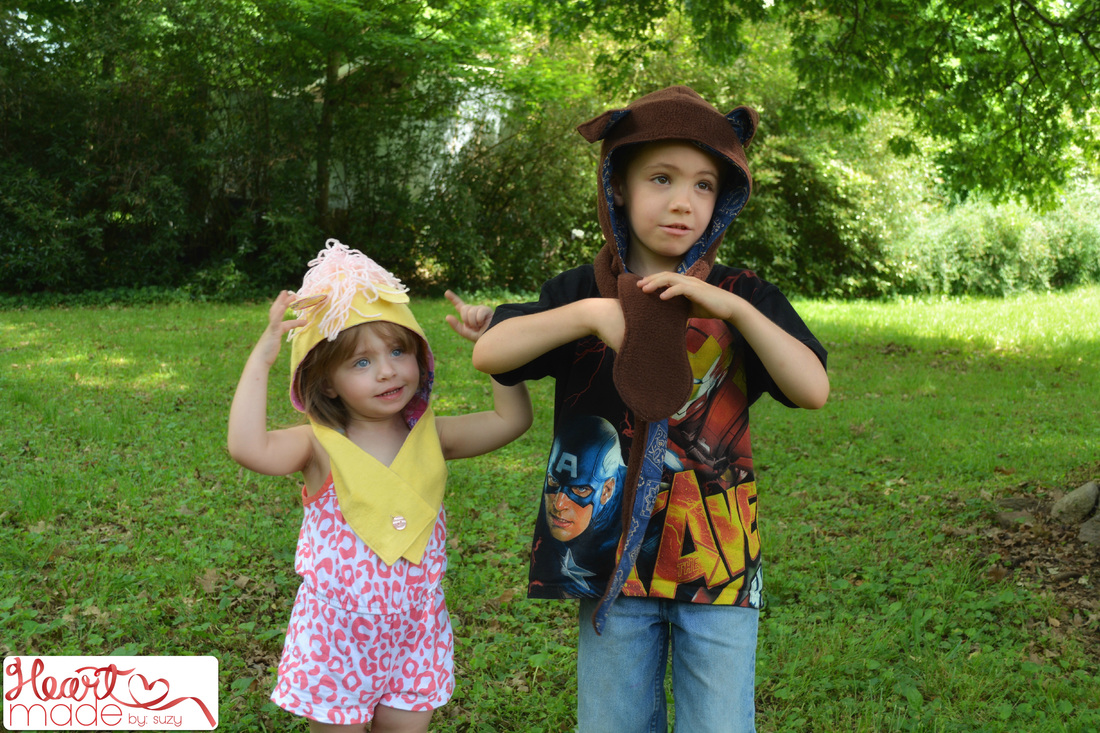
In making brother and sister hoods in Round Two of testing, I decided to play around and make a puppy hooded scarf and a "pony" (Flutteryshy, to be exact) hooded scarf.
For the "puppy", I chose to use the Cat/Fox ears to create the desired effect. After sewing the ears together, I folded them over to create a floppy, "puppy", look, then topstitched to hold them in place. In attaching the ears, I made them more wide set as dogs seem to have broader set ears.
I followed the directions for "Fluttershy". I simply looked at My Little Pony images for inspiration on coloring. (The pony hat is also lined in My Little Pony fabric.) My only mistake in making these two was that I misplaced the button and buttonhole for the cowl. It won't make too much of a difference when she wears it this winter as she will tuck it inside of her jacket.
This pattern was my first experience using the "Layer" option in Adobe. This means that you have the ability to print only one size of the pattern as opposed to all sizes and trying to figure out which line to follow. How genius!!! This pattern had easy-to-follow directions with coordinating images for the step-by-step instructions.
In making brother and sister hoods in Round Two of testing, I decided to play around and make a puppy hooded scarf and a "pony" (Flutteryshy, to be exact) hooded scarf.
For the "puppy", I chose to use the Cat/Fox ears to create the desired effect. After sewing the ears together, I folded them over to create a floppy, "puppy", look, then topstitched to hold them in place. In attaching the ears, I made them more wide set as dogs seem to have broader set ears.
I followed the directions for "Fluttershy". I simply looked at My Little Pony images for inspiration on coloring. (The pony hat is also lined in My Little Pony fabric.) My only mistake in making these two was that I misplaced the button and buttonhole for the cowl. It won't make too much of a difference when she wears it this winter as she will tuck it inside of her jacket.


 RSS Feed
