


Ooh...here's a bonus! Enter for a chance to win your own copy of the Point Mugu Maxi Skirt!
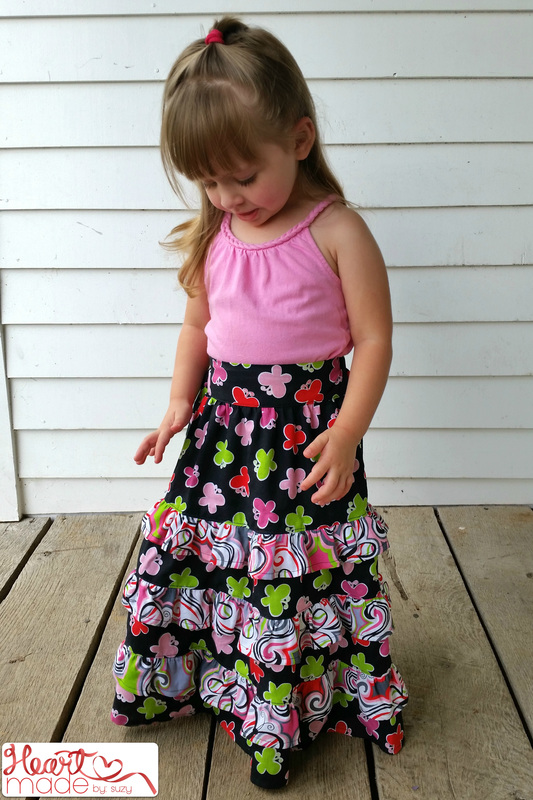
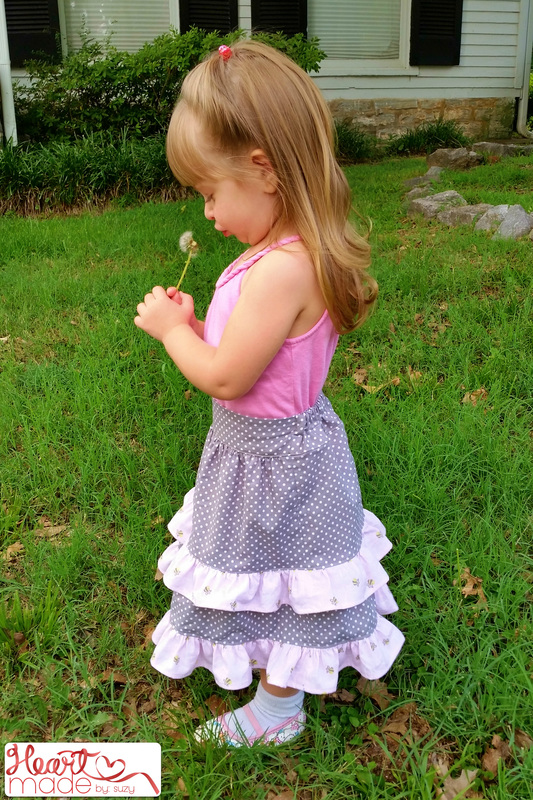
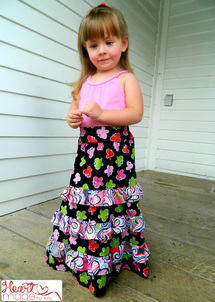
These skirts are beautifully designed and are incredibly versatile. You can use a “fancier” fabric to make it a more formal skirt, but it looks simply lovely using cotton fabrics too. Casual day? Throw on the Point Mugu Maxi Skirt with a tee and some flip flops. Feeling like a “Princess” Day? Don the Point Mugu Maxi Skirt with a pretty top and your favorite “Princess” shoes (Aka “Slippers” for those who aren’t well-versed in Princess stories). Is it a hot Summer day (like we get an endless supply of in the South)? Wear your breezy Point Mugu Maxi Skirt. How about those cold Winter days? I happen to know a lovely skirt that wears well with sweaters and boots! Do you get the picture? ;)
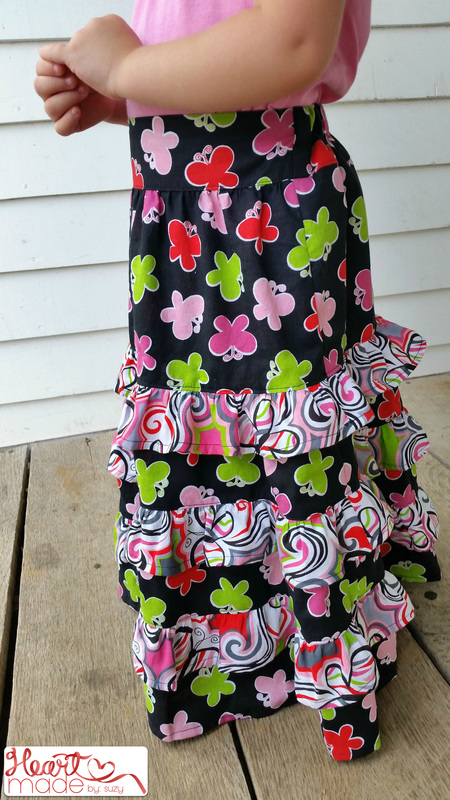
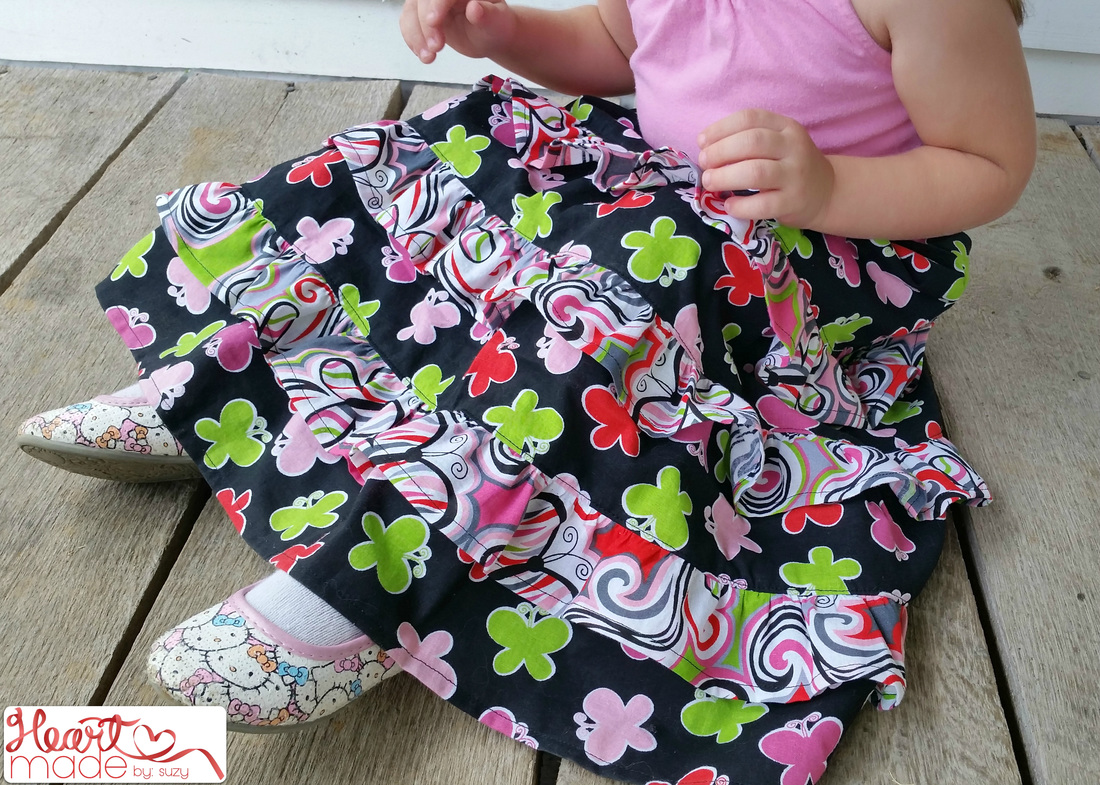
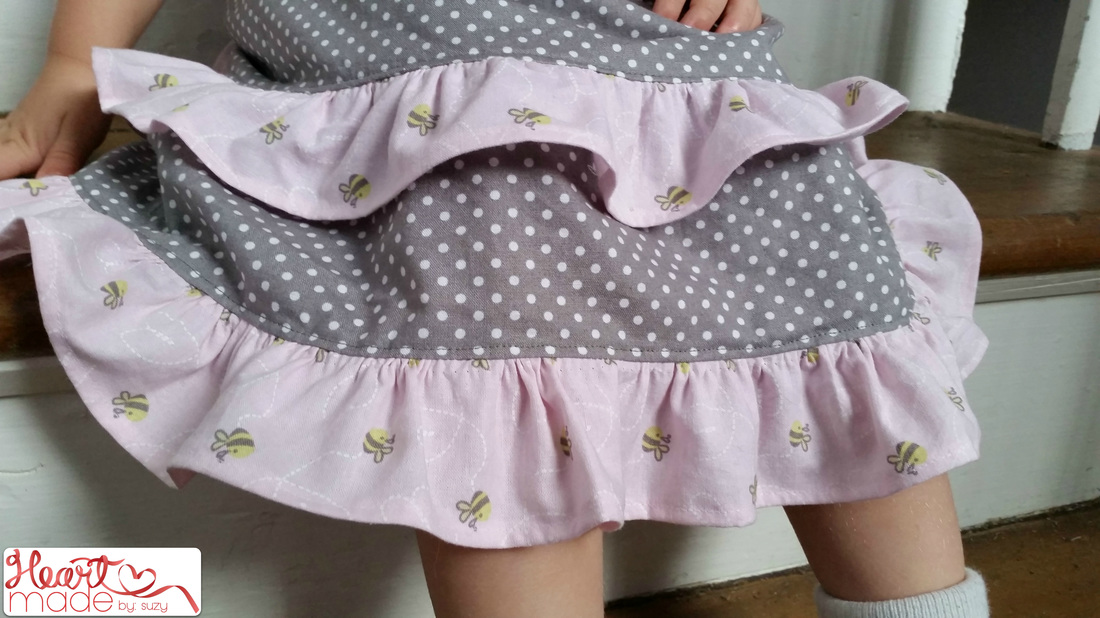
Needless to say, I foresee many more Point Mugu Maxi Skirts in Miss C’s future as she grows up. Here are some more detailed pictures of the loveliness:
Needless to say, I foresee many more Point Mugu Maxi Skirts in Miss C’s future as she grows up. Here are some more detailed pictures of the loveliness:
Welcome to Day 4 of the Point Mugu Maxi Skirt blog tour! I was excited to be included in promoting this lovely skirt pattern by Seaside Notions. I have now had the opportunity to sew patterns by several pdf designers. Each designer is unique in how they create the pattern and how it prints. One thing that Nicola, at Seaside Notions, offers (and I didn’t notice until after I had finished my first skirt…Oops) is measurements for the skirt pieces as well as actual pattern pieces. Most designer will give you one or the other. Those who give measurements will give pattern pieces only for the pieces that aren’t straight, such as sleeves and bodice pieces. The problem with just having the measurements for each piece is that you need a cutting mat, rotary blade and a straight edge/plastic or metal ruler. This is a challenge for people who don’t quilt or use pdf patterns as much.
To aid in the construction of the pattern, Nicola has provided well written step-by-step instructions. Accompanying each step is a computer-generated image, showing the step. Another user-friendly option that is offered is PDF “Layers” so that you only need to print the desired size. This helps to cut down on the unnecessary use of ink…a precious commodity. Do you have a Little who isn’t a cookie-cutter size? No worries! Nicola has included an easy-to-follow explanation of how to modify the fit to the child. The pattern comes in sizes 12mo to girls size 14.
To aid in the construction of the pattern, Nicola has provided well written step-by-step instructions. Accompanying each step is a computer-generated image, showing the step. Another user-friendly option that is offered is PDF “Layers” so that you only need to print the desired size. This helps to cut down on the unnecessary use of ink…a precious commodity. Do you have a Little who isn’t a cookie-cutter size? No worries! Nicola has included an easy-to-follow explanation of how to modify the fit to the child. The pattern comes in sizes 12mo to girls size 14.
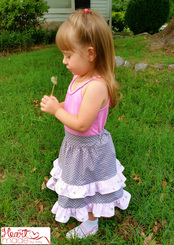
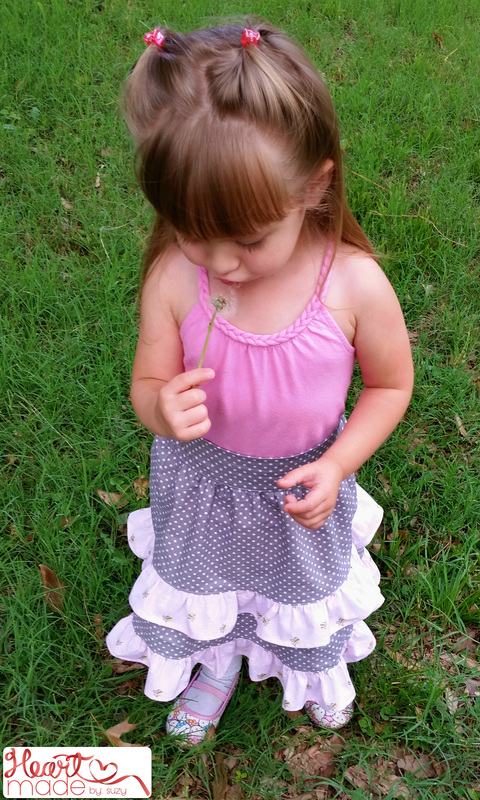
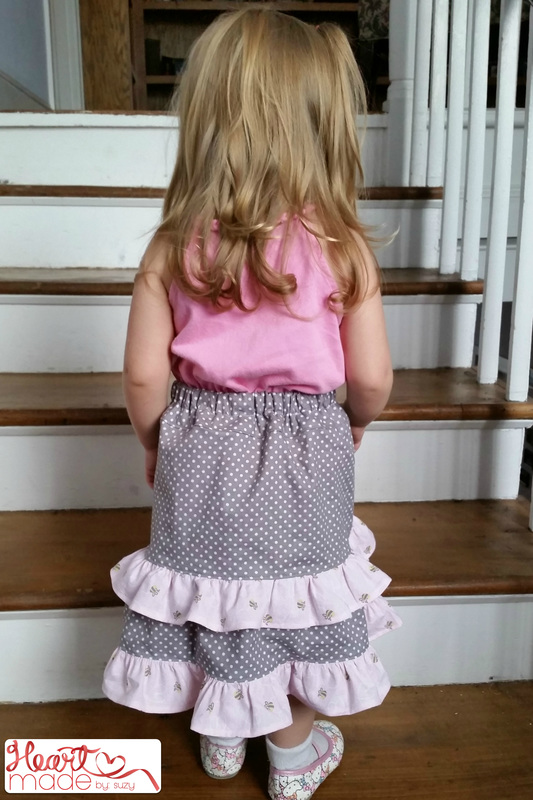
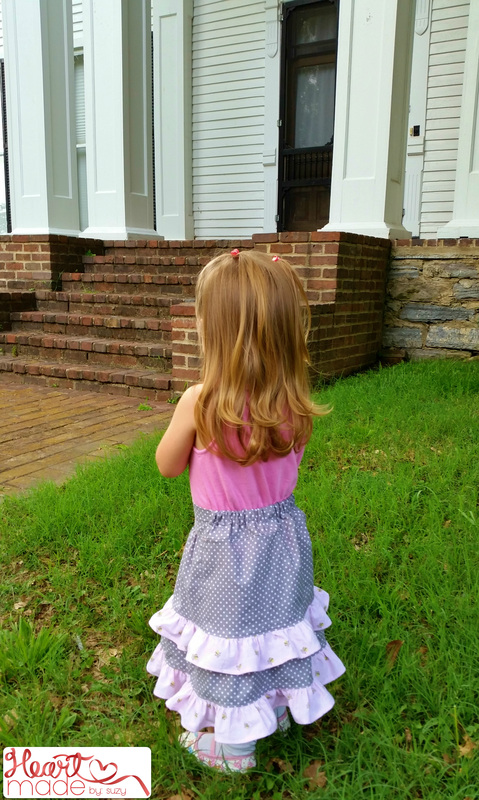
Back to my skirt: I constructed a size 2 skirt for my petite model. The skirt fit Miss C amazingly well. My only concern was that her little 2 year old feet would get tripped up in the skirt. So, I made her another skirt and left off the last 3 layers. As you can see from the pictures, it’s still plenty long enough to grow with her.
Random side note:
The fabric in the shorter skirt was originally intended for the long skirt but I only got enough of the grey to do the ruffles, not the actual skirt. I decided, after the fact, that the pink bee fabric was too light for the skirt and should be the ruffles instead. Regardless, it all worked out.


 RSS Feed
